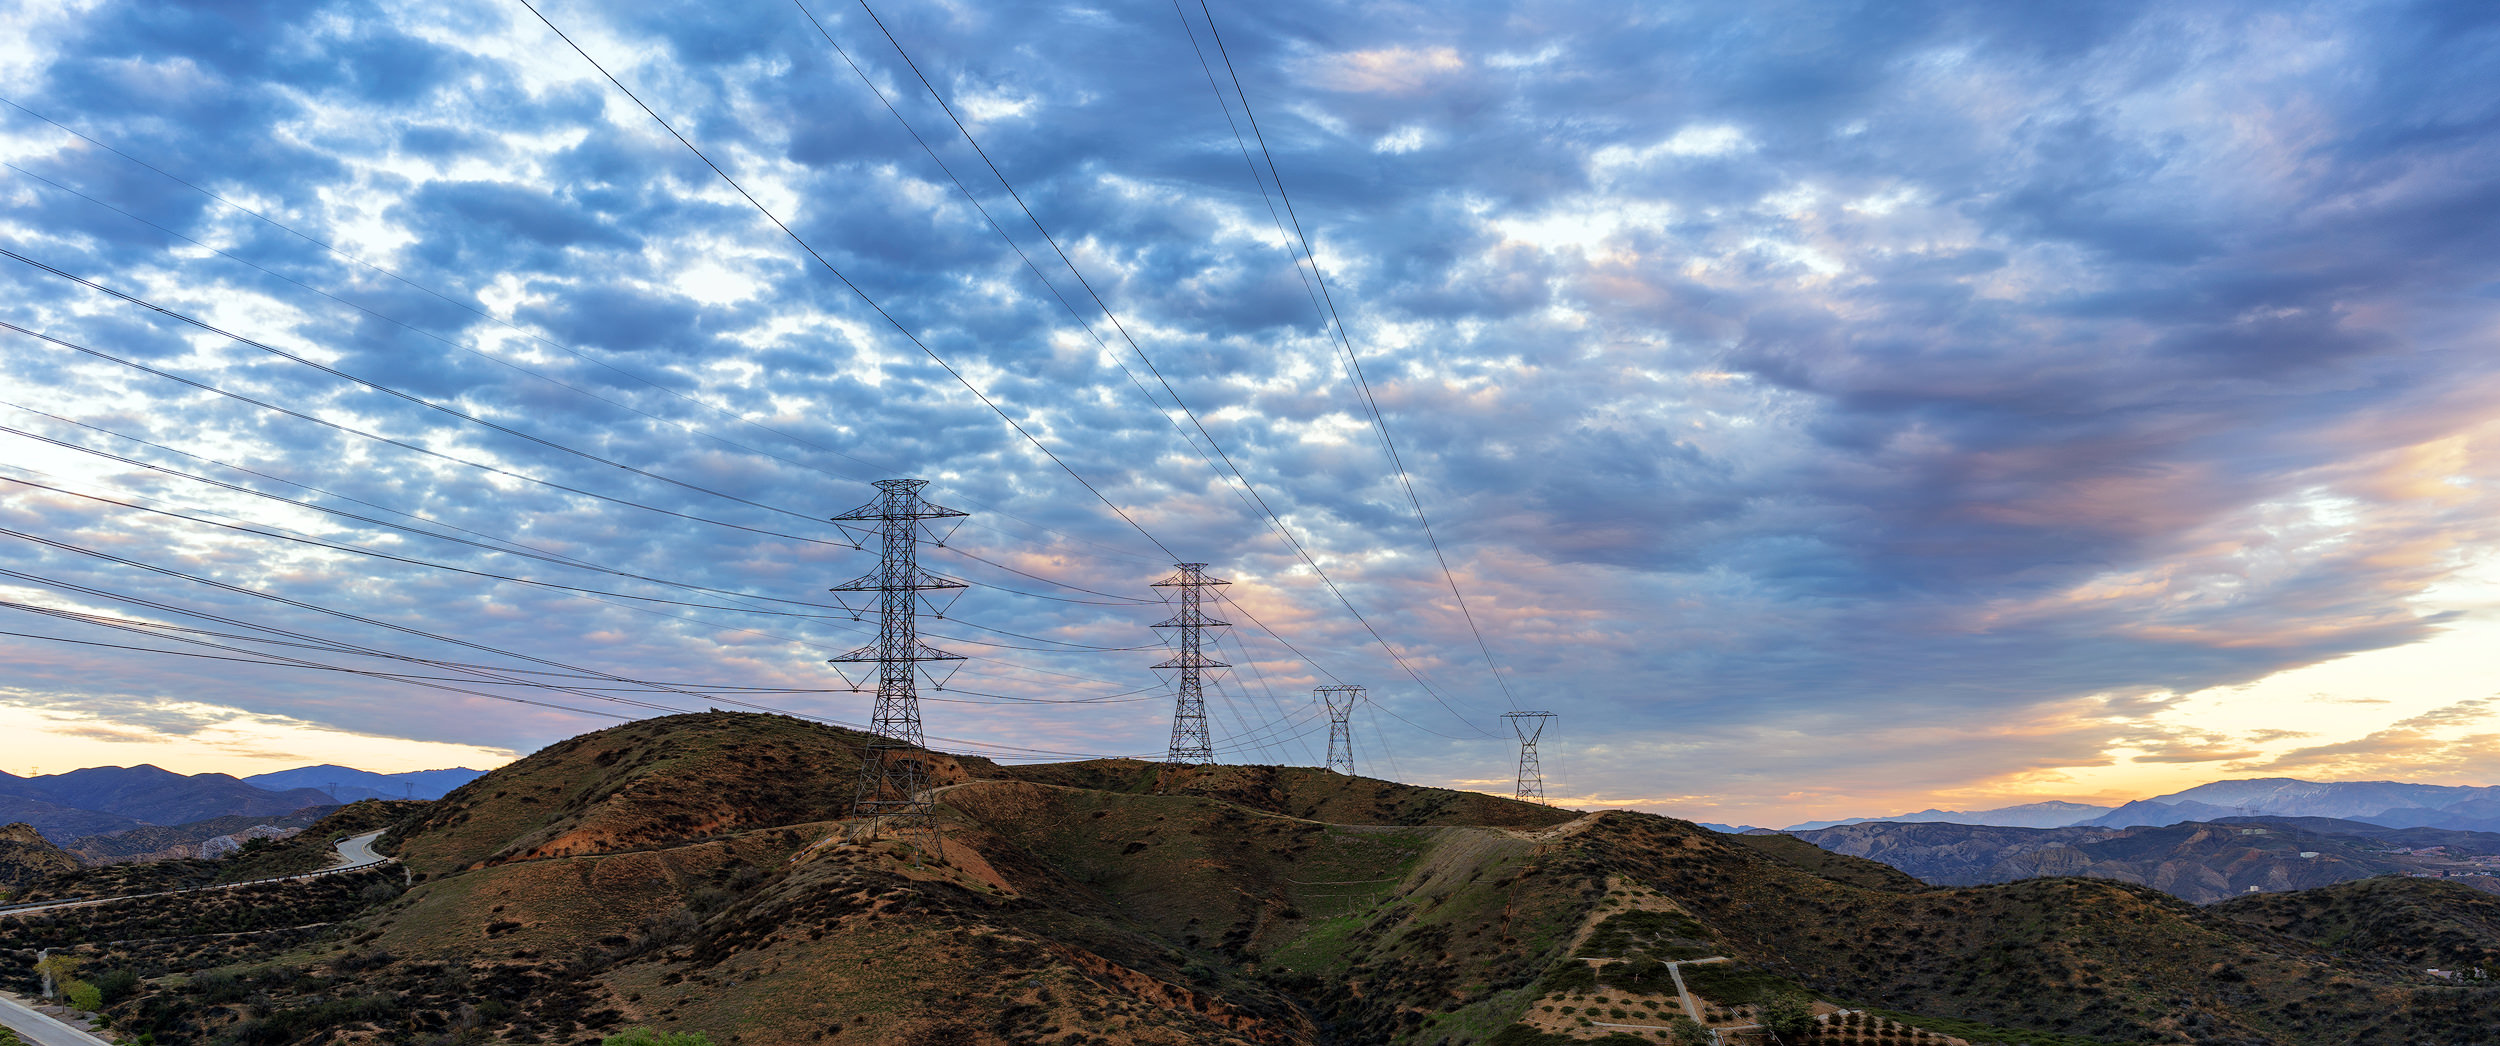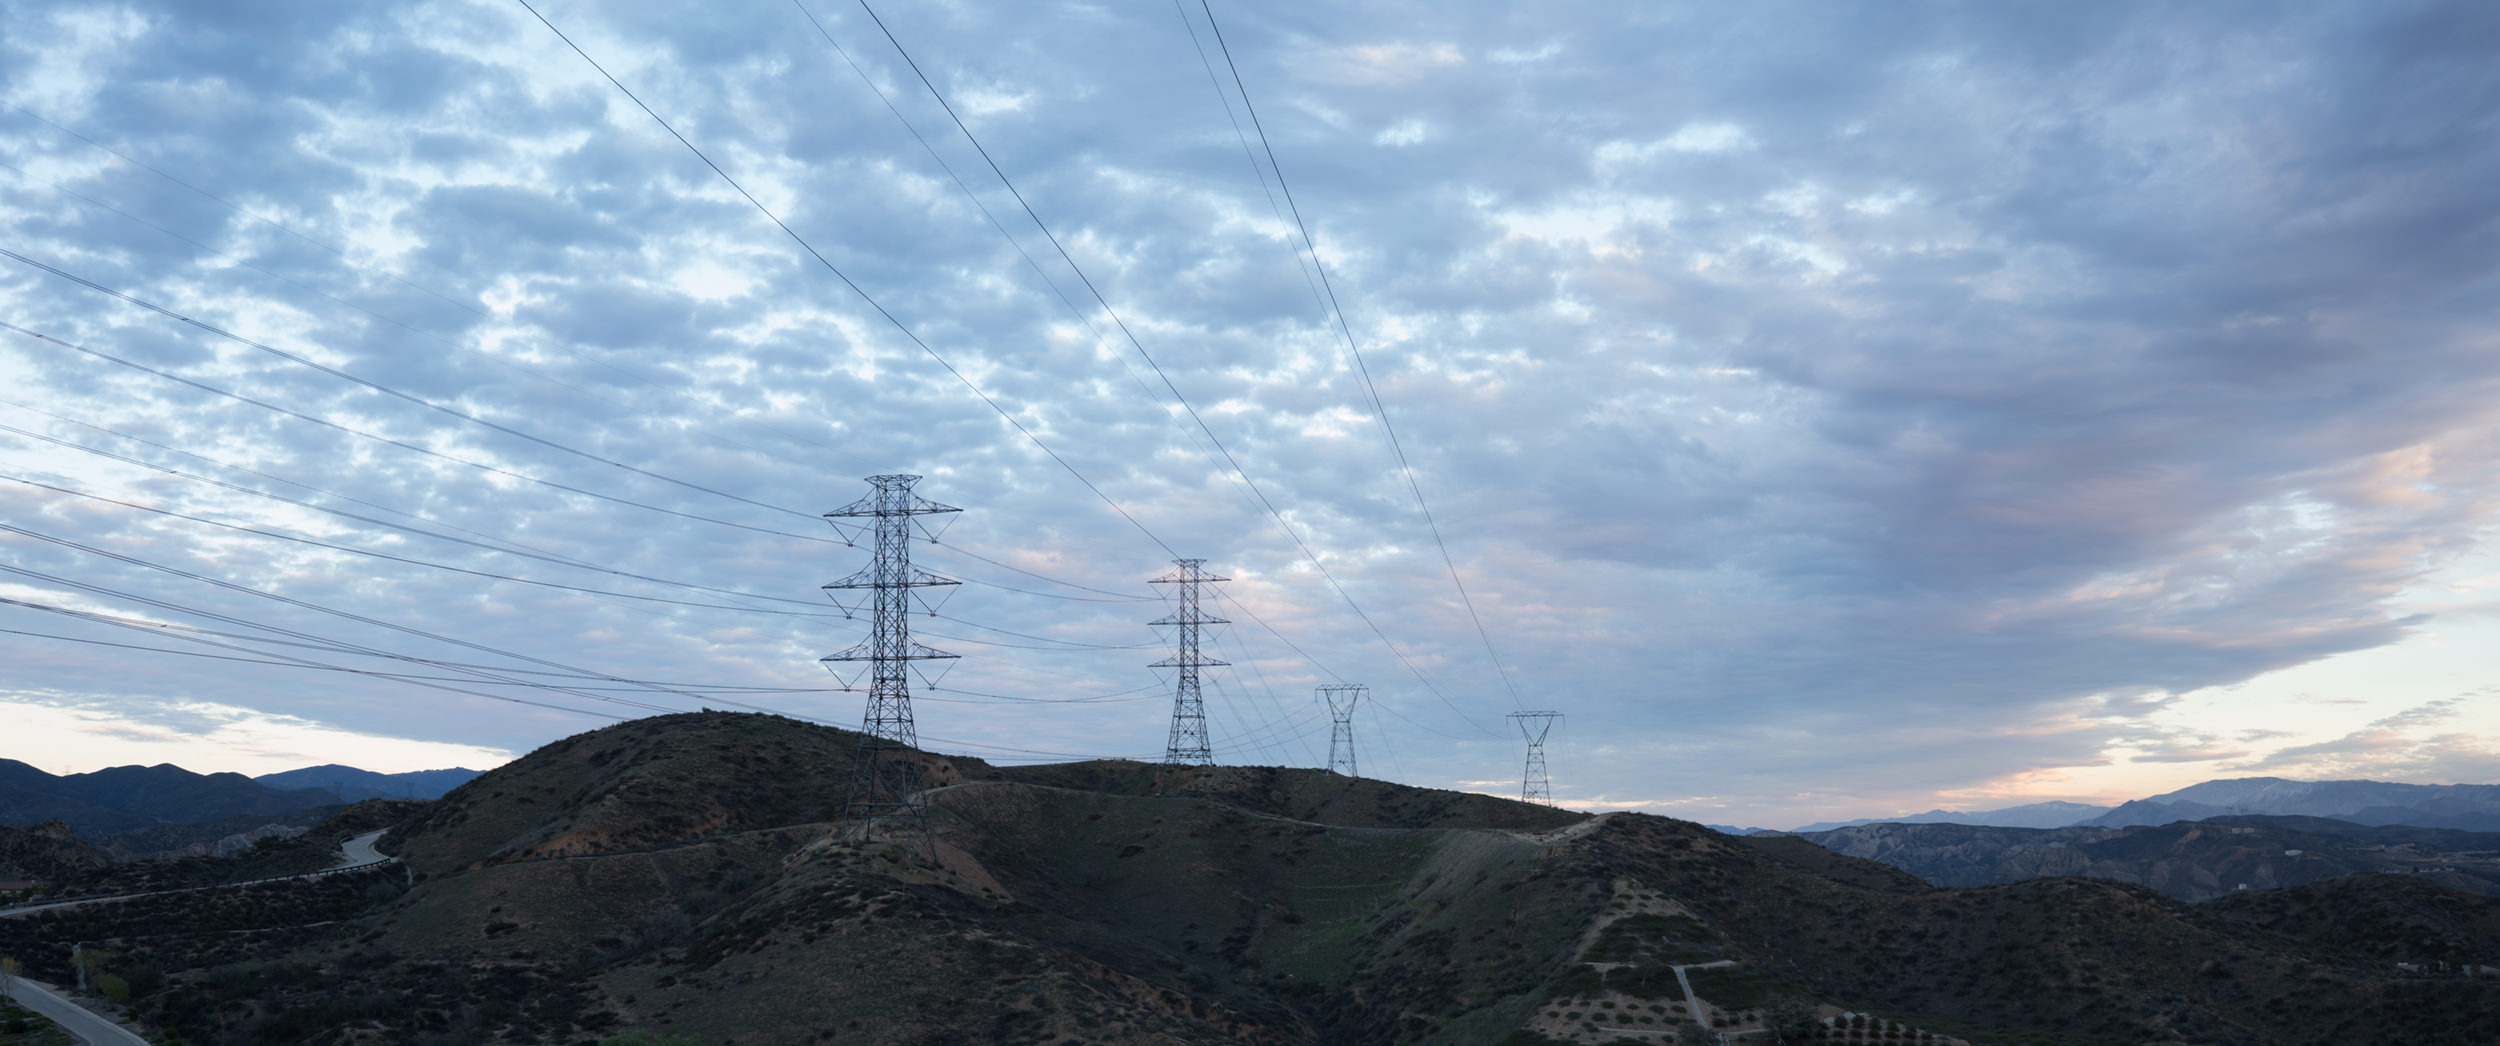
A post on PetaPixel caught my eye yesterday. It was about a project by Łukasz Oślizło called “reVision.” The reVision site allows you to upload before and after photos to show the editing done. It’s a really well done project, easy to use on both sides of the equation. The current limitation for reVision is that it does not provide an embed code. I figured there must be a Before & After WordPress plugin available. I was right.
I get asked all the time, “is that photo edited?” My answer is always, “of course.” I shoot in RAW, which is essentially giving me a “digital negative,” a truly unedited image file. Now, I know people take a good deal of pride in posting photos with the #unedited hashtag. I get it. They’re trying to define a certain form of reality. But if they are shooting in JPEG, which they almost certainly are if they are using a phone, then the images are simply being edited by an algorithm, not by them. The file is still interpreted.


The before and after above attempts to show what the RAW image looks like straight from my camera. Even this isn’t truly accurate. “Raw files are named so because they are not yet processed and therefore are not ready to be printed or edited with a graphics editor,” like Adobe Lightroom or Photoshop. Both Lightroom and Photoshop use a raw converter “to get the image into a wide-gamut internal colorspace where precise adjustments can be made before conversion” to a “digital positive” file format such as TIFF or JPEG. So the “before” above is the base RAW image converted into the wide-gamut colorspace. The amount of image data still available is amazing, really.
But as you can see, the unedited RAW before image does not come close to showing what your eyes would have seen at that moment. If I had been shooting in JPEG, the camera would have done the editing and thrown away the vast majority of the image information in the process. I prefer to do the editing myself, rather than let a camera’s algorithm do it for me.
So, you’re likely to never see the #unedited hashtag used relative to any of my images. I don’t believe that animal actually exists.
Update 1 REVISED: I now use the GutenBee Image Comparison block to display the before and after in this post. Since the switch to Gutenberg, several good options have appeared.
Update 2: A great post today by Patrick Beggan on DIYPhotography.net sheds more light on this topic. “Your sensor is a data collection tool. Just because Lightroom takes my camera’s RAW and runs it through its own color profiles and default settings doesn’t mean that is what my image is–the changes I make are not lies to make it look good. An unmodified JPG output from a raw isn’t the last word — it’s an average of what the camera recorded. My image is what I saw when I was there and more so what I felt when I was there. It is important to remember that seeing and that feeling and use the data your sensor collected to recreate it. This is the art of photography.”
100% OF PROFITS FROM PHOTO SALES ARE DONATED TO YOUTH TRACK & FIELD PROGRAMS!
EXIF Data Below Applies Only To The Featured Photo In This Post