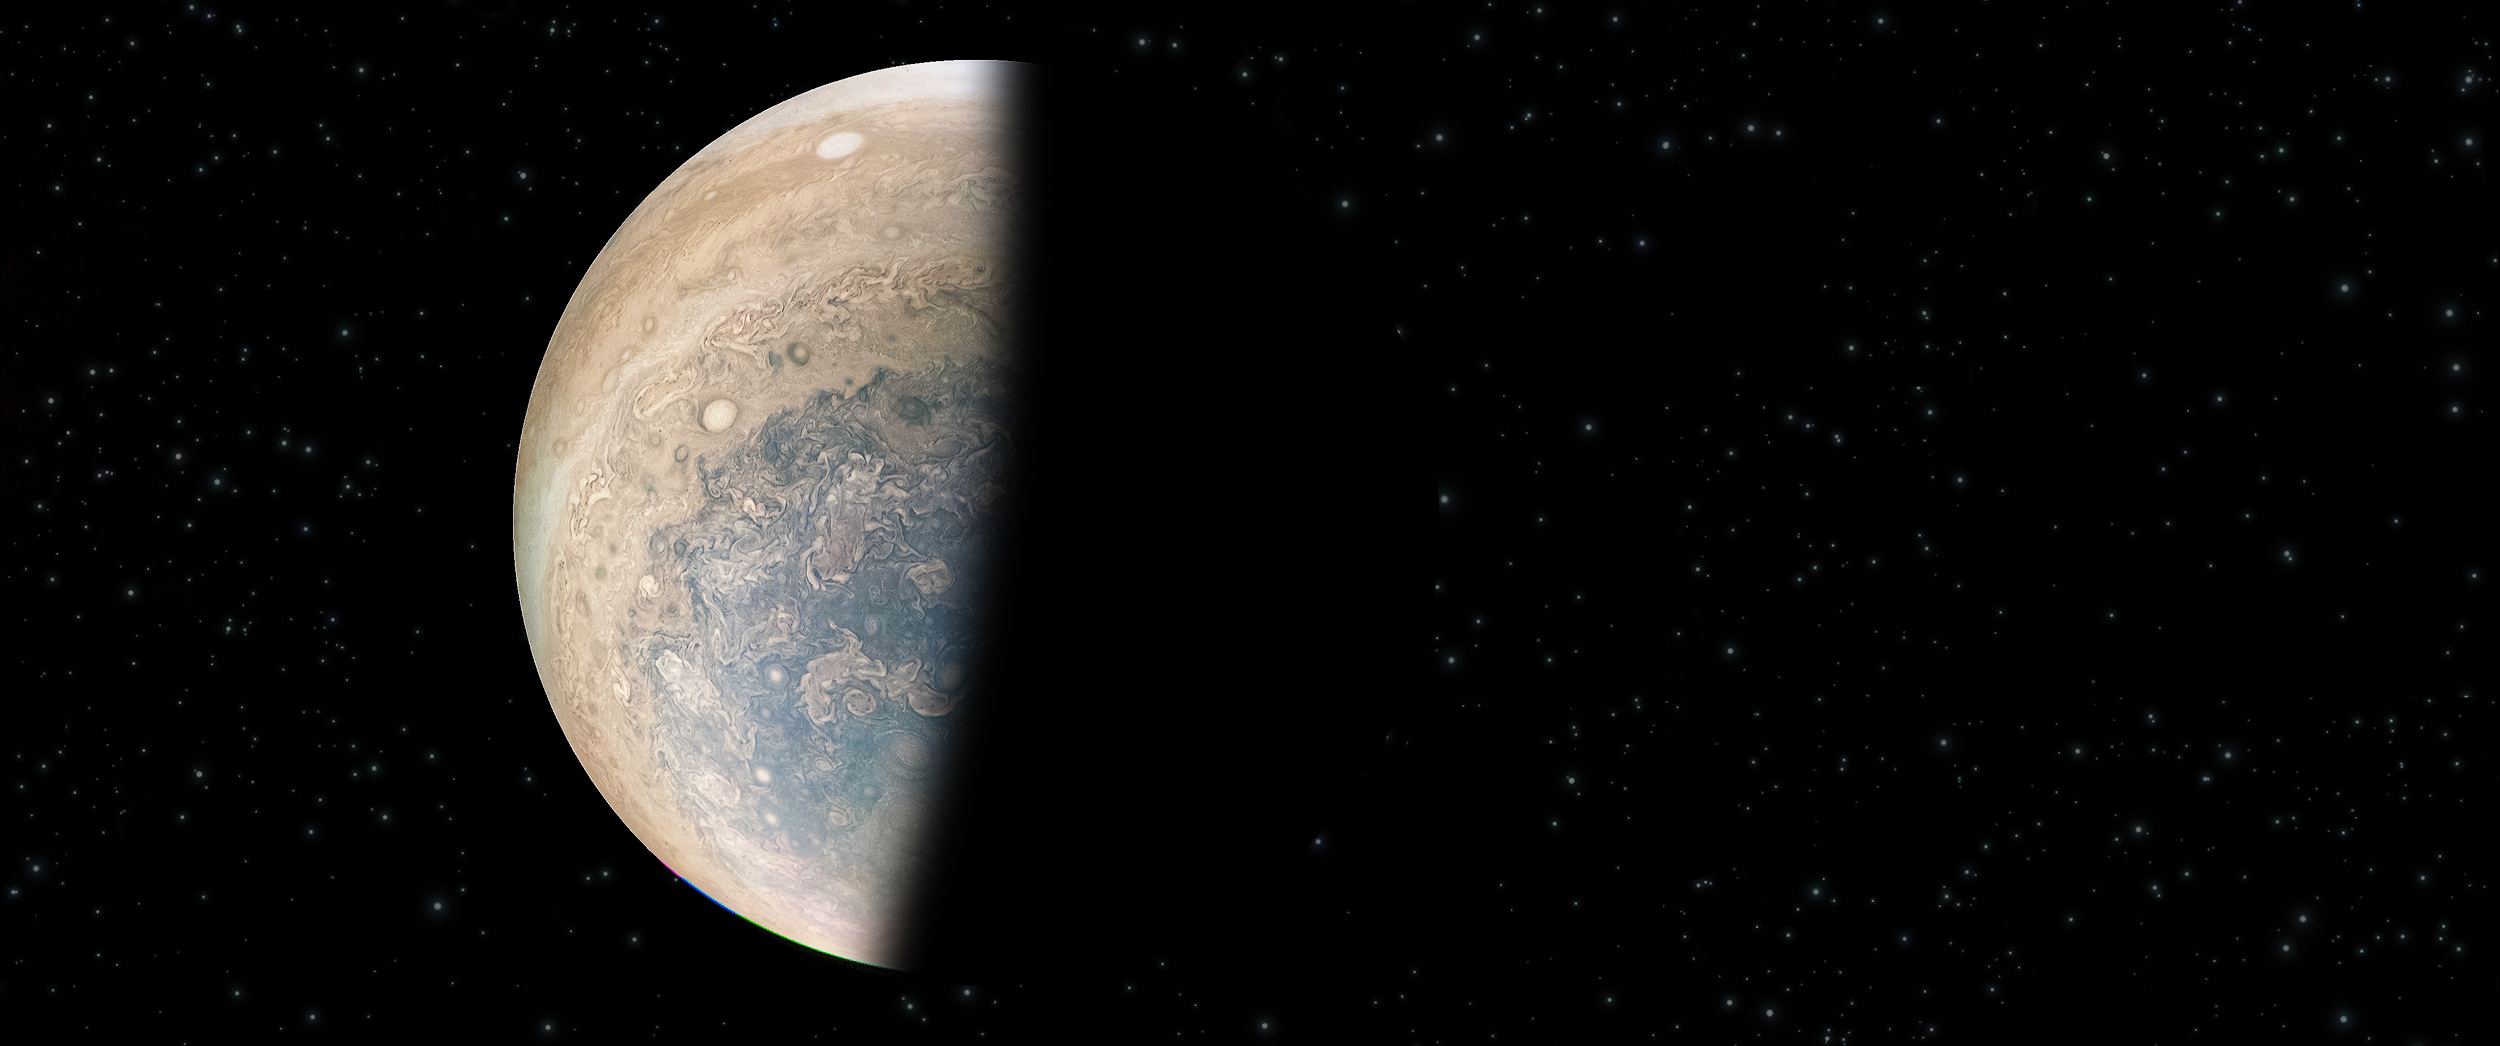
I’ve enjoyed watching the images come back from NASA’s Mission Juno. The photos returning of Jupiter are truly spectacular. NASA has also published unprocessed photos (in PNG format) to its JunoCam Image Processing website to allow “normal” folks like me to edit the photos. They’ve also created a spot to upload your edits for inclusion in their gallery. I submitted the one below (see it at NASA here), so I thought I’d share the editing process with you.

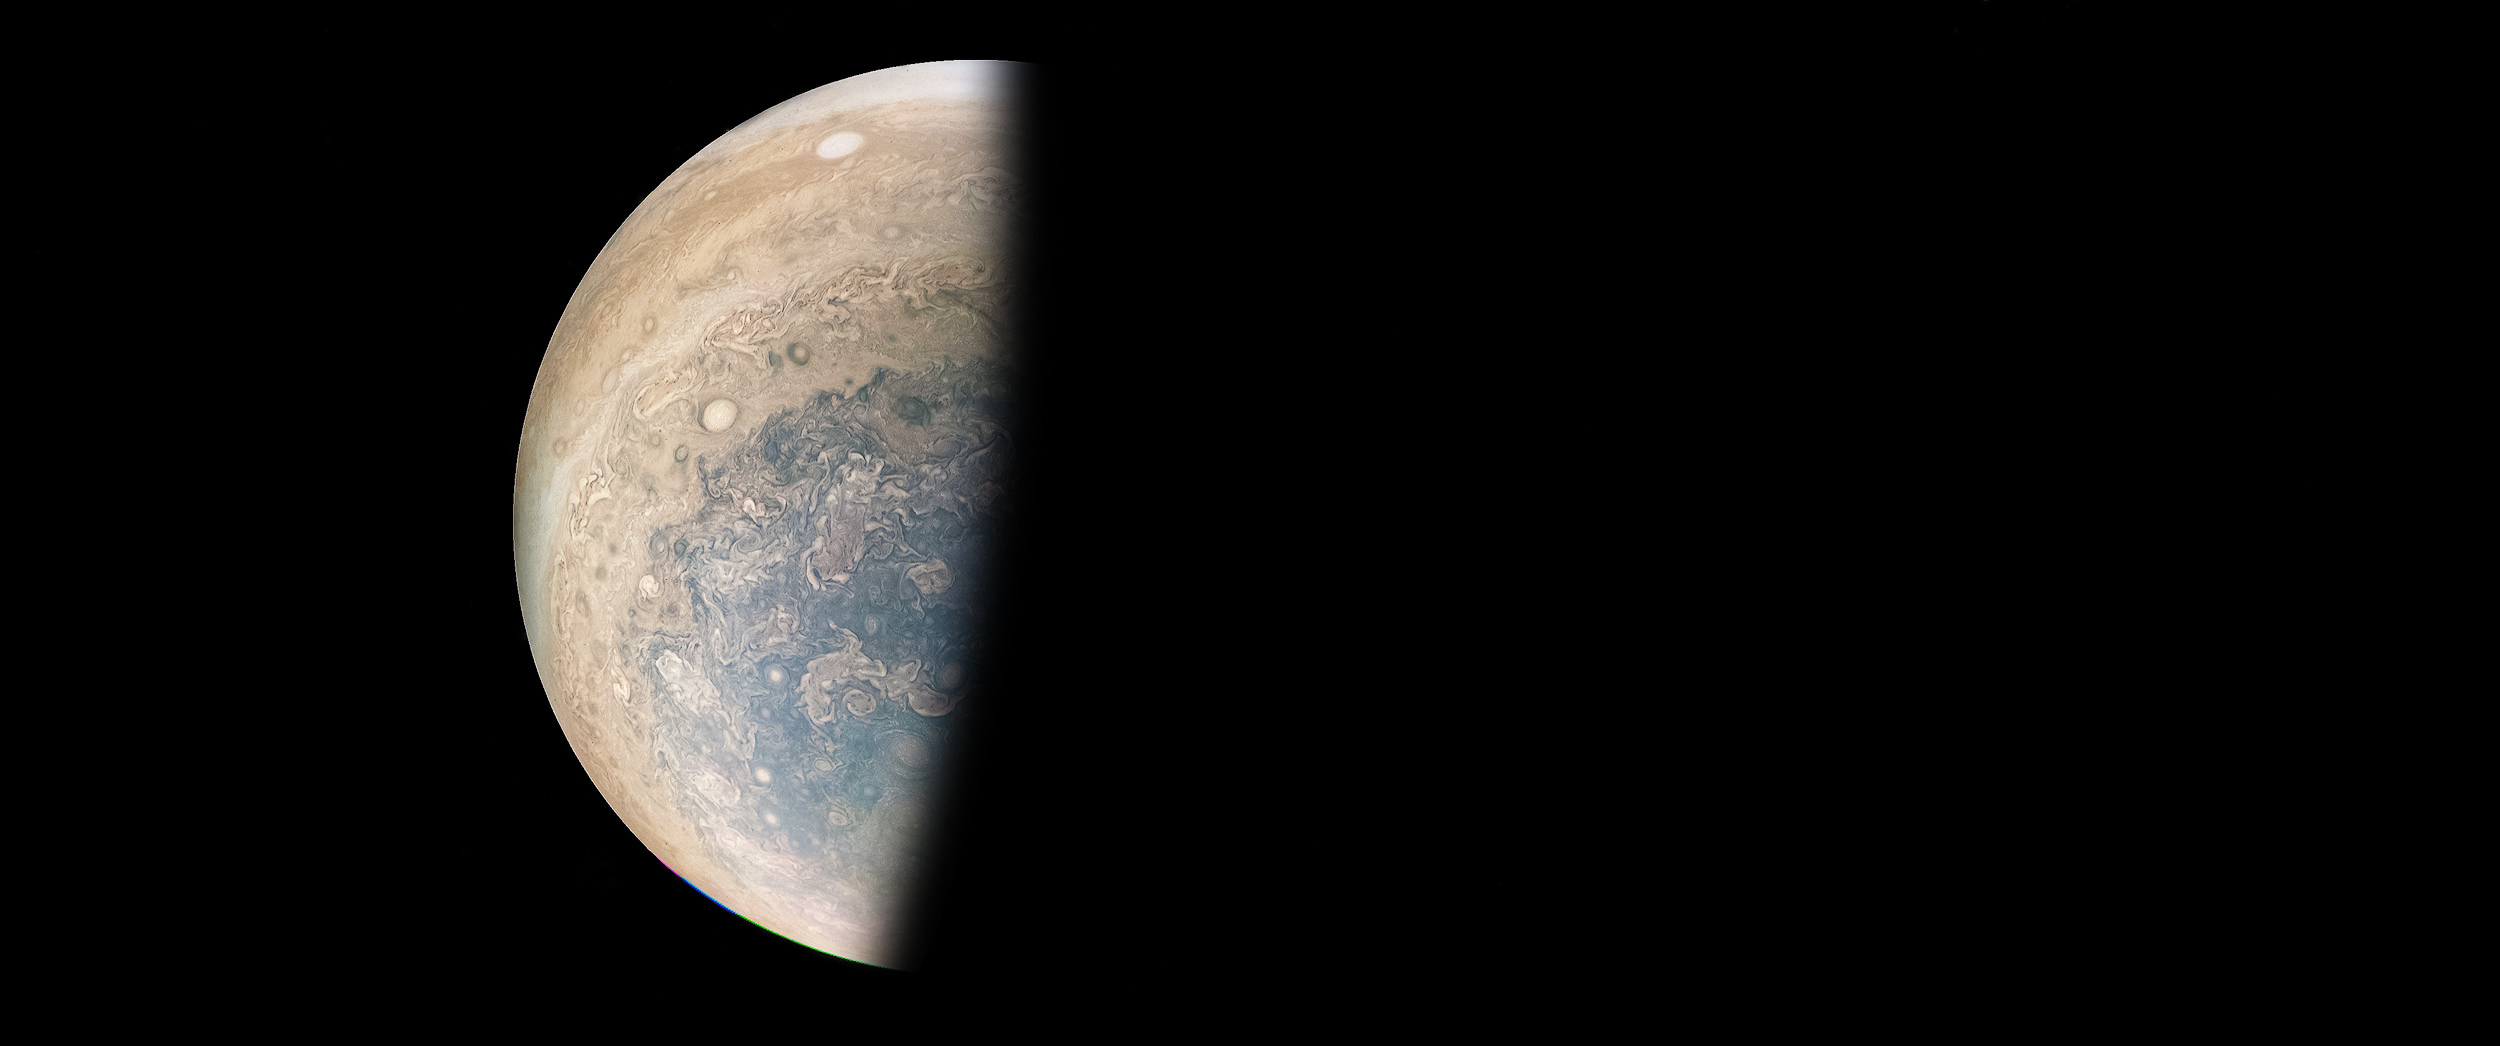
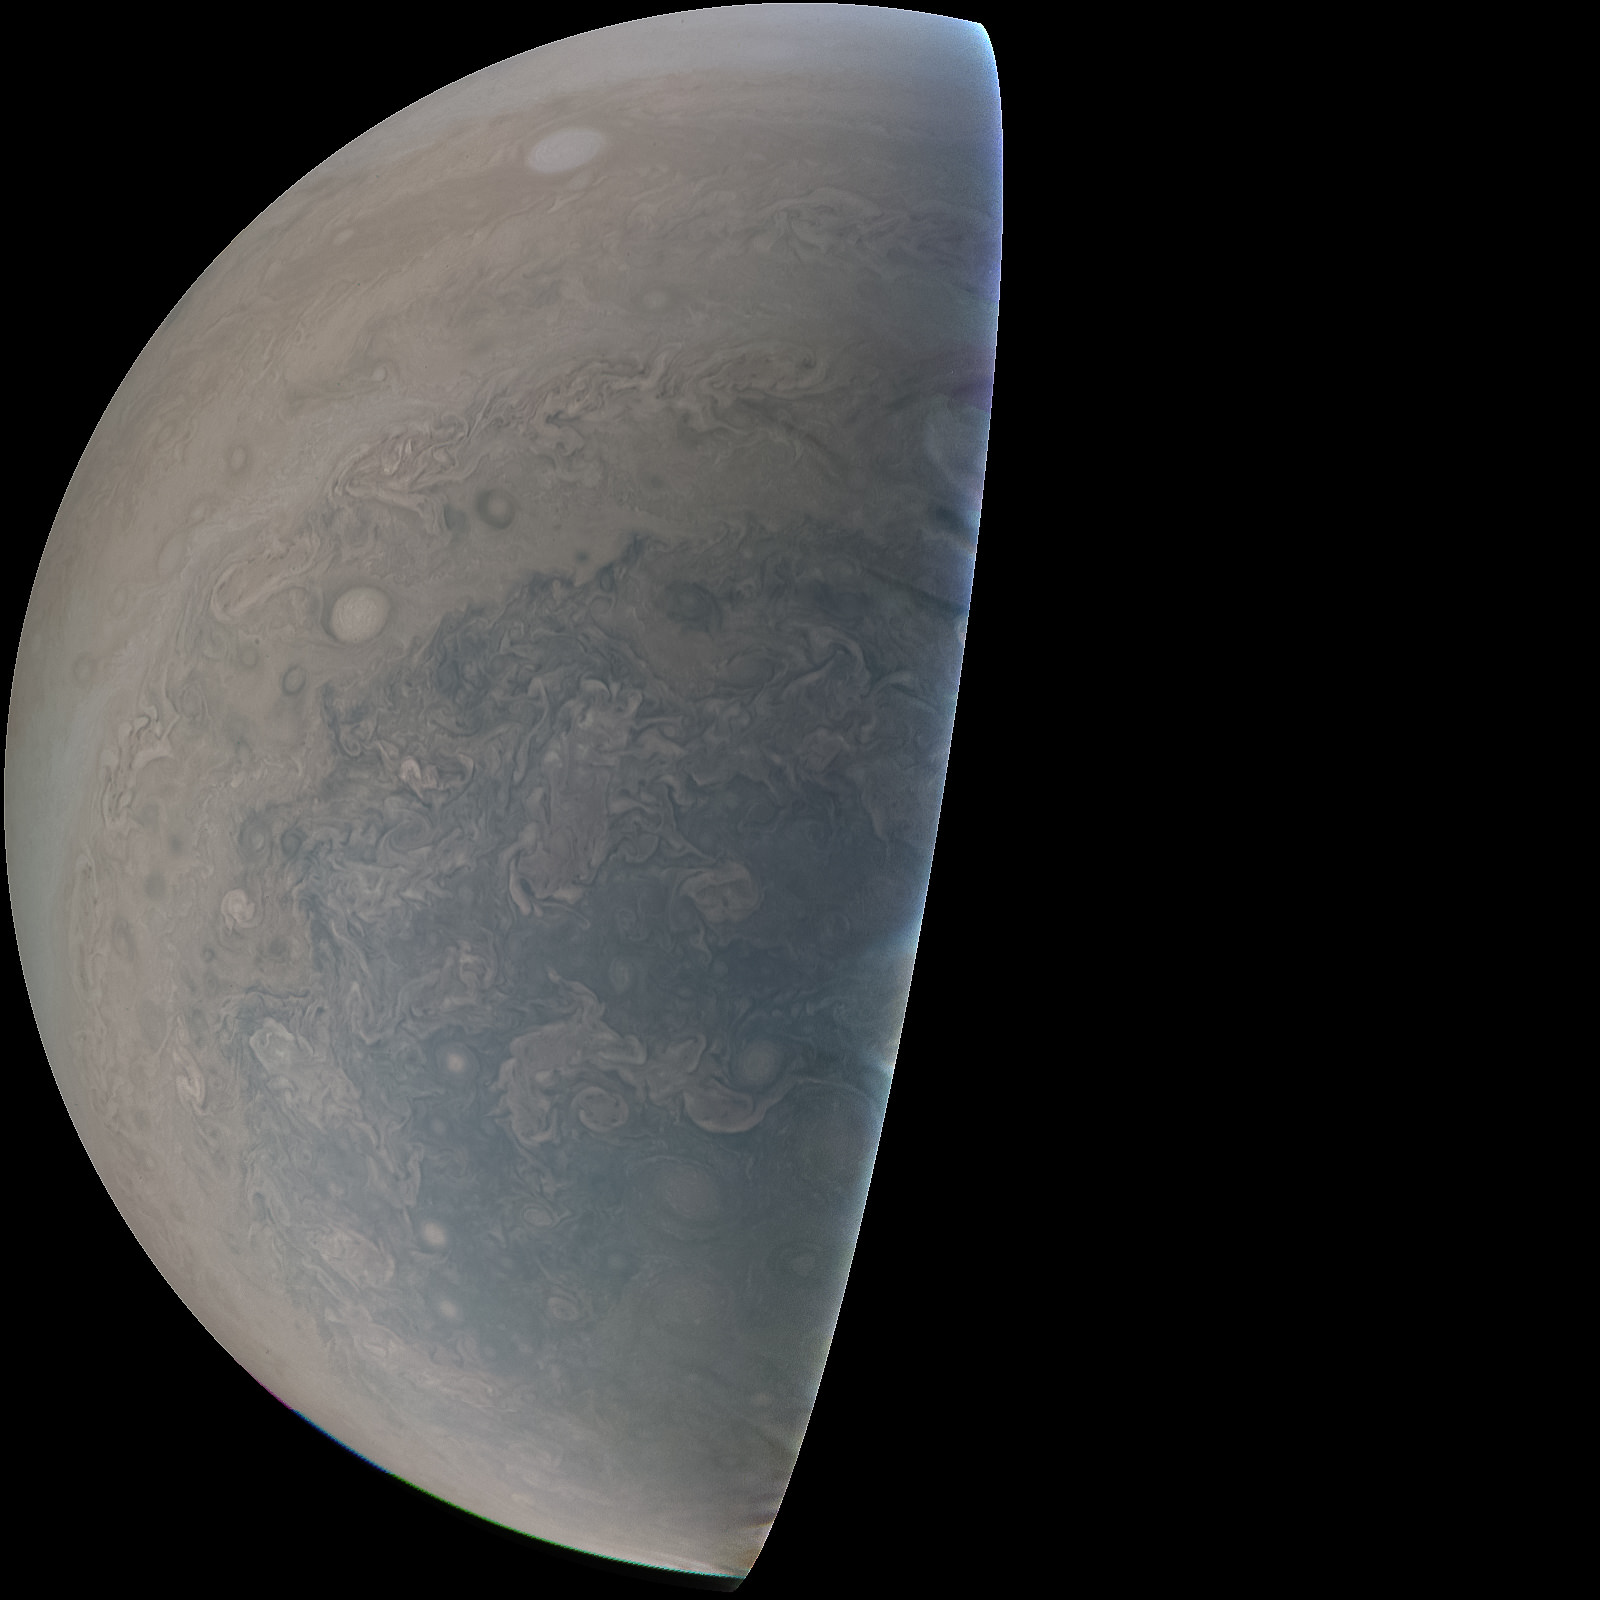
Starting with the raw PNG file shown large below, I began my edits in Adobe Lightroom, adjusting shadows, highlights, and white and black points. I then exported to Color EFX Pro 4 and applied adjustments to perceptual saturation, dynamic contrast and a small amount of skylight filter. I then exported to .tiff and imported to Adobe Photoshop to expand the image and apply a blend on the edge of the planet using the pen tool and converting to a mask, then using
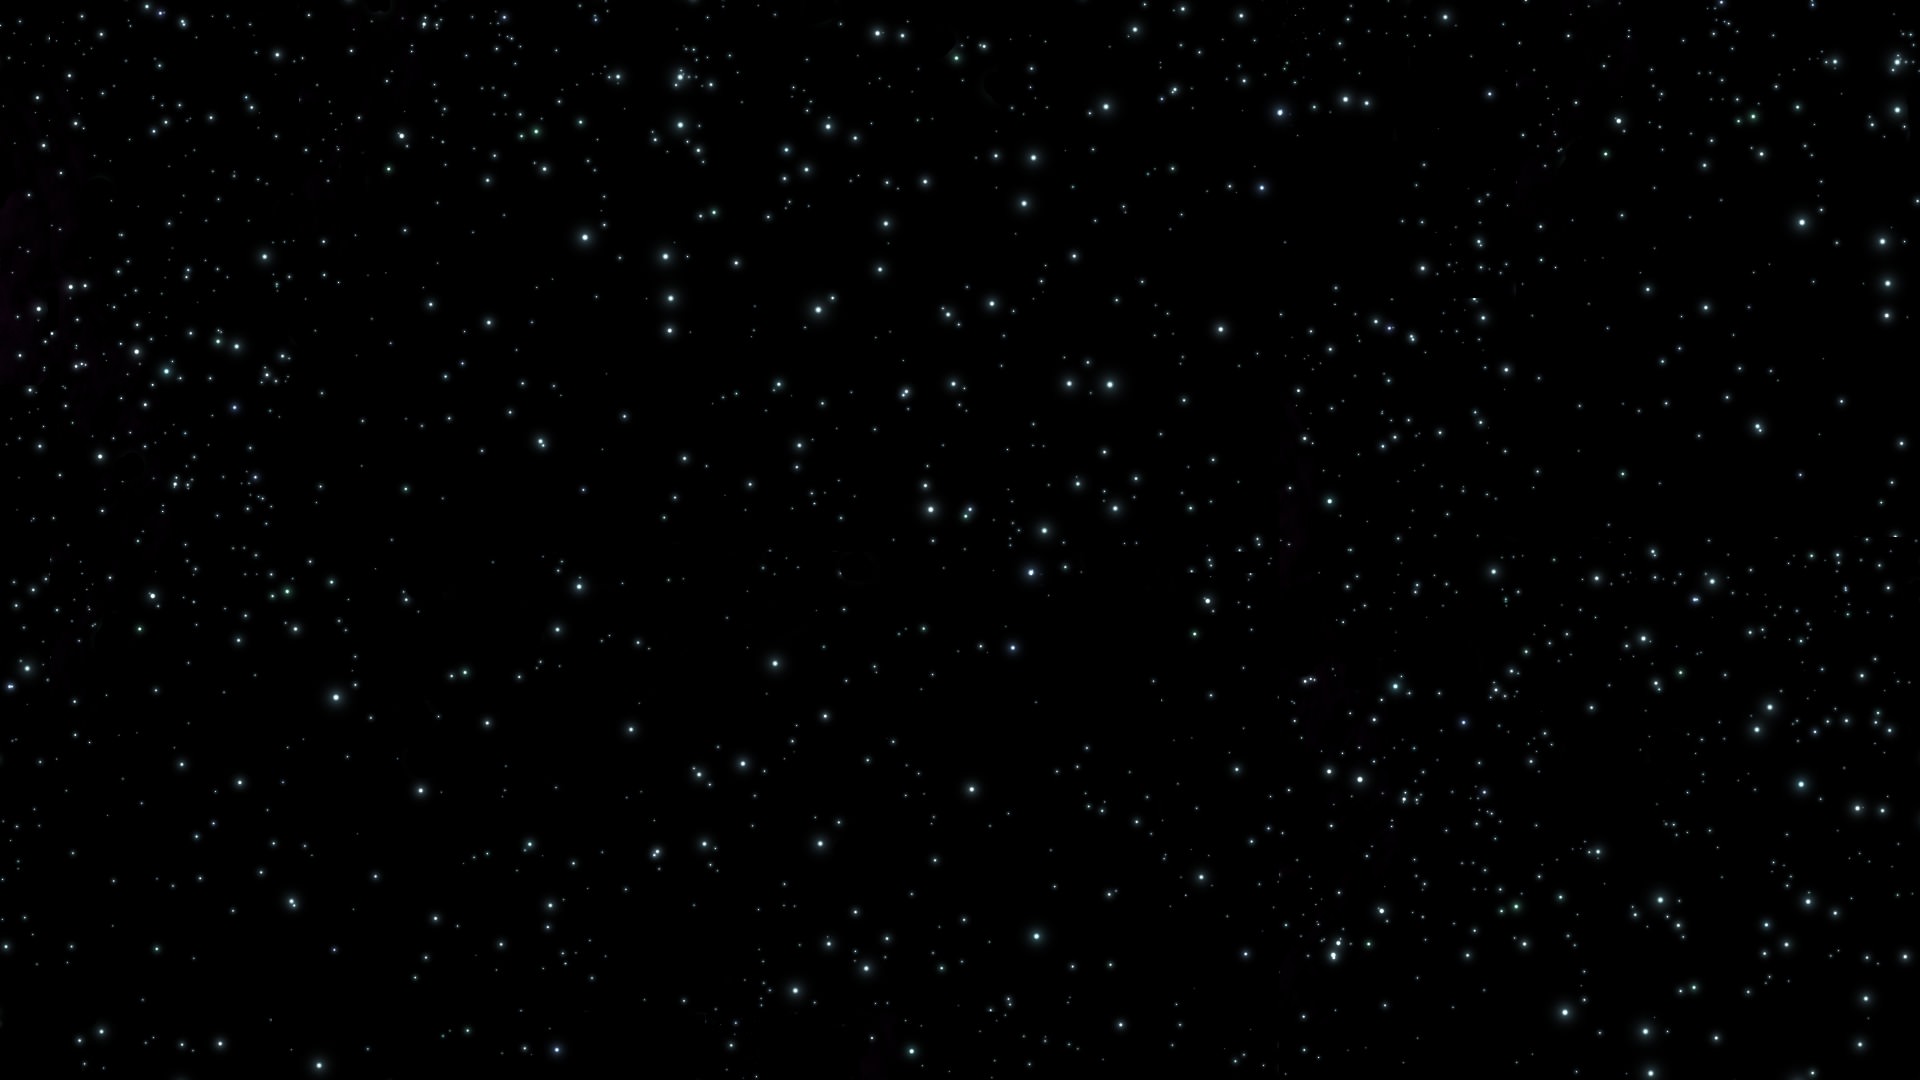
I then exported to .tiff and imported to Adobe Photoshop to expand the image and apply a blend on the edge of the planet using the pen tool. I converted the shape to a mask, then used Gaussian blur to create what we are used to perceiving in the shadow line between dark and light. Once that was complete, I created a full planet mask, just a circle, and added in stars (also shown below) to a new layer, adjusting the transparency to 60%. Since Jupiter is so bright and close, I wanted it to continue to stand out. And there you have it. 🙂


100% OF PROFITS FROM PHOTO SALES ARE DONATED TO YOUTH TRACK & FIELD PROGRAMS!
EXIF Data Below Applies Only To The Featured Photo In This Post
Woo Hoo – you’re way beyond my level of expertise!
I just take them (I took that photo of Juno, by the way), then bring them into Lightroom where I move sliders around!
Ira
Ira, I’ve been playing in Photoshop for so long I can’t remember a time when I was not doing it. 🙂