I’ll admit it. I was a little bit giddy when I learned that Adobe Lightroom Mobile was going to be able to shoot and edit RAW image files with it’s update for iOS 10. I downloaded the update immediately and took a photo of Mike Arnold, who happened to be sitting at a desk right next to me, backlit by a window overlooking downtown Boston.
To my delight, it worked as I had hoped. Up until that moment, the iPhone camera, like most consumer cameras, only had the ability to save to a JPEG file. I only shoot in RAW when I’m using my Sony a6000. There are significant image advantages to doing that. RAW files simply contain more image data than the compressed JPEG files. For example, 8 Bit JPEG images can only contain 256 shades of red, green and blue colors. That’s 16 million colors, which sounds like a lot, but a 12-bit RAW image allows for 4,096 shades of red, green and blue. That’s over 68 billion colors. Big difference.
In addition, RAW files contain the most dynamic range. This is the ratio between the maximum and minimum measurable intensities of light and dark. This allows you to recover underexposed/overexposed images or parts of an image. The downside? YOU have to do the editing yourself. On every image. Thankfully, I really enjoy that part of the photographic process.
The panorama above was made from four photos, each saved as RAW files and edited in Adobe Lightroom Mobile, right on the iPhone. I then exported to JPEG and imported them into Photoshop to create the panorama. The level of detail in the crowd was achievable only because of the ability to recover the underexposed parts of the original images. And Mike, seen off to the left, would have been a blurred highlight.
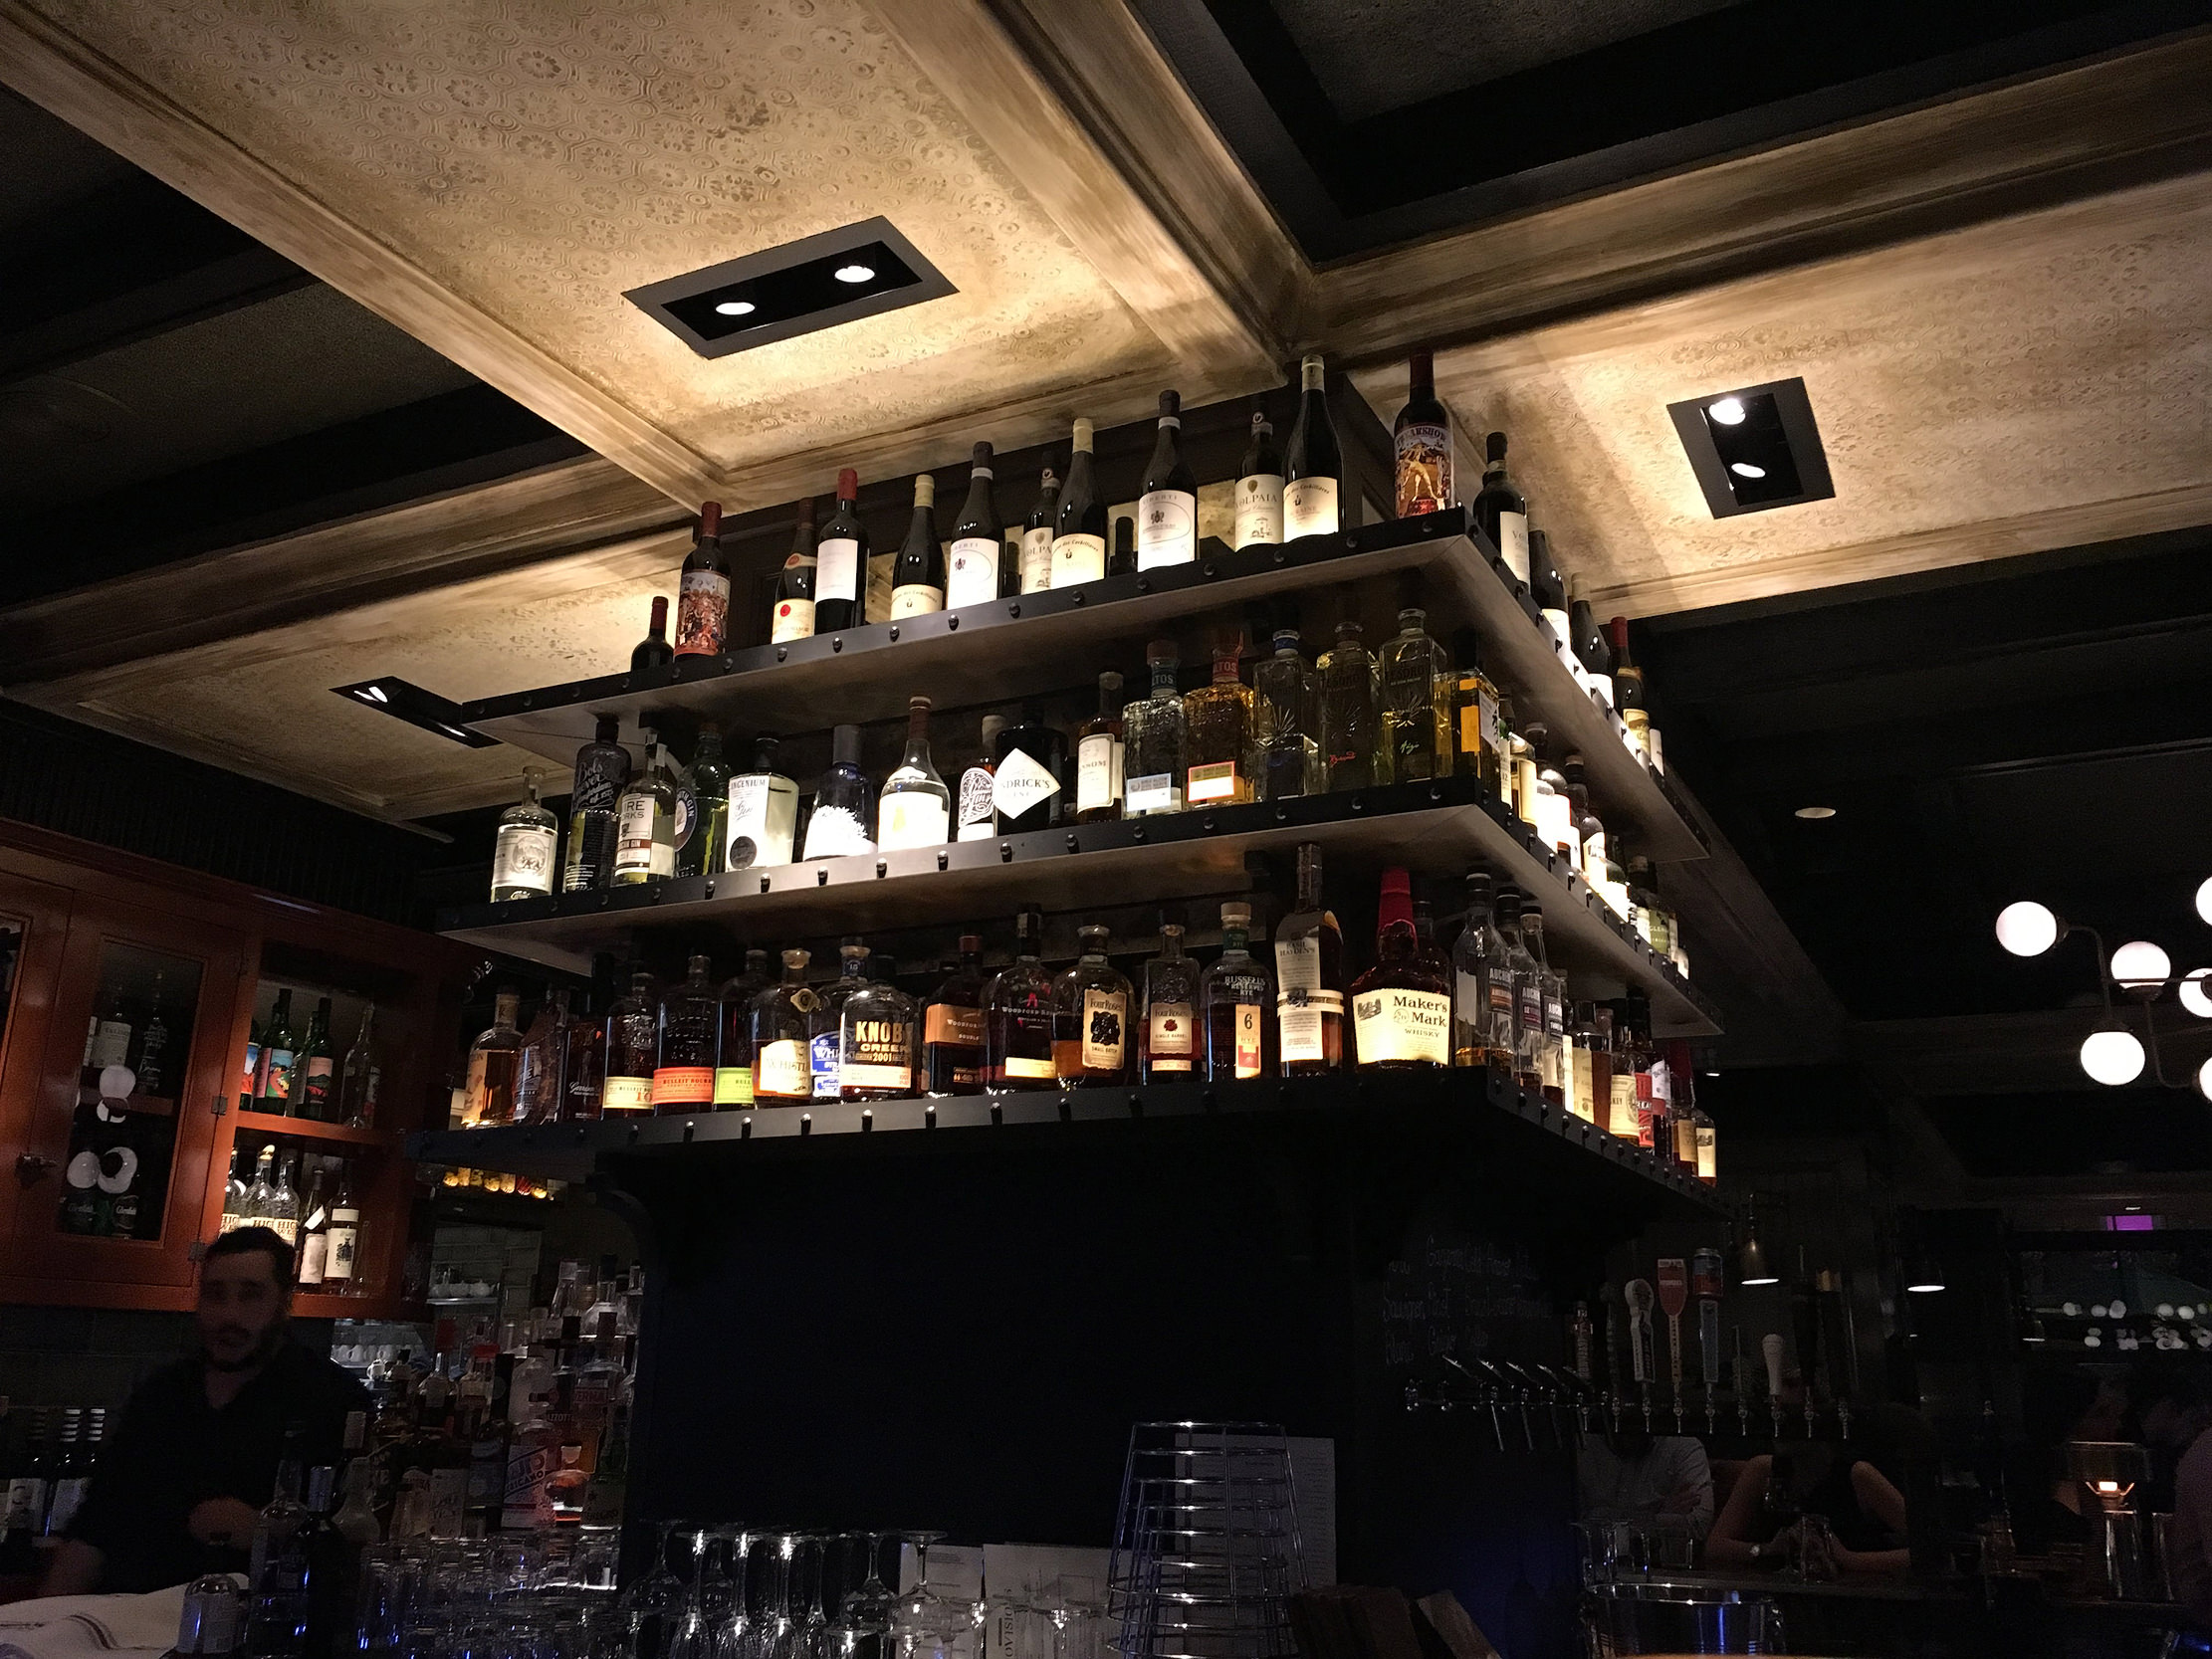
It’s impossible to really understand the true difference without an illustration. So, let me illustrate with another set of photos. This first photo below was shot using the standard photo app on the iPhone and not edited at all.

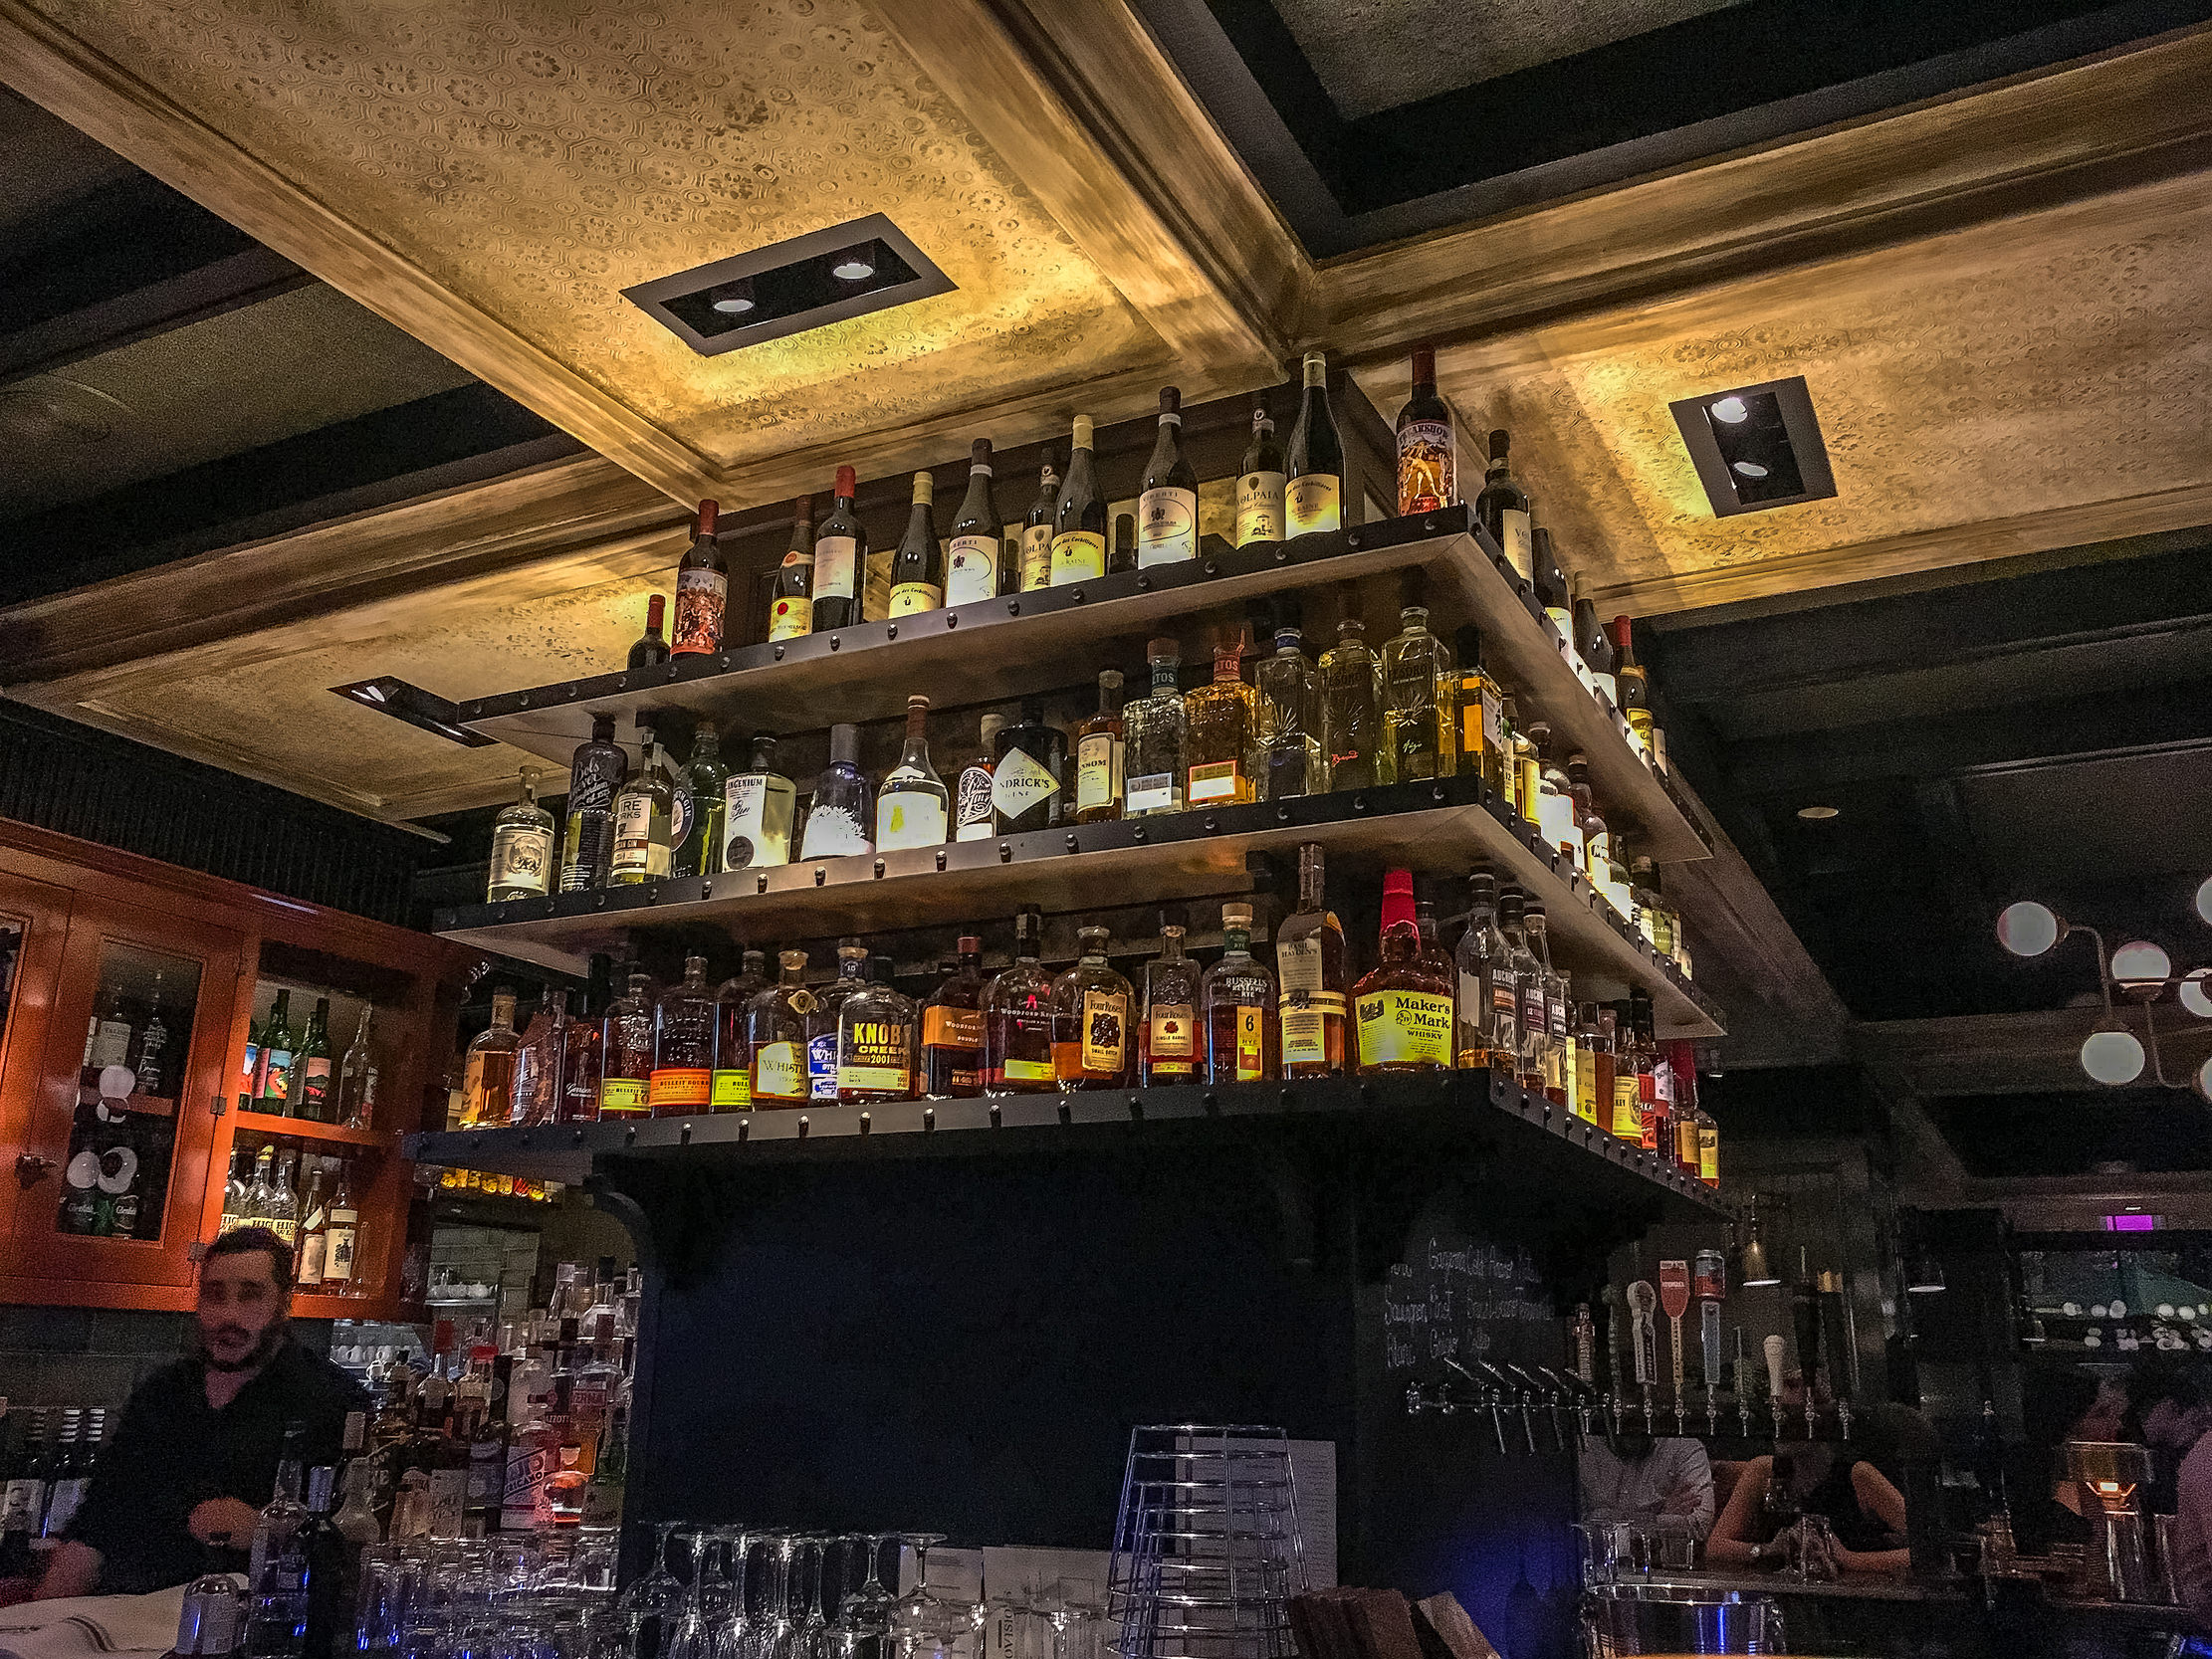
The iPhone saved the image as a JPEG. I took the JPEG above and edited it, as best I could, in the more powerful desktop version of Adobe Lightroom. Here’s the result.

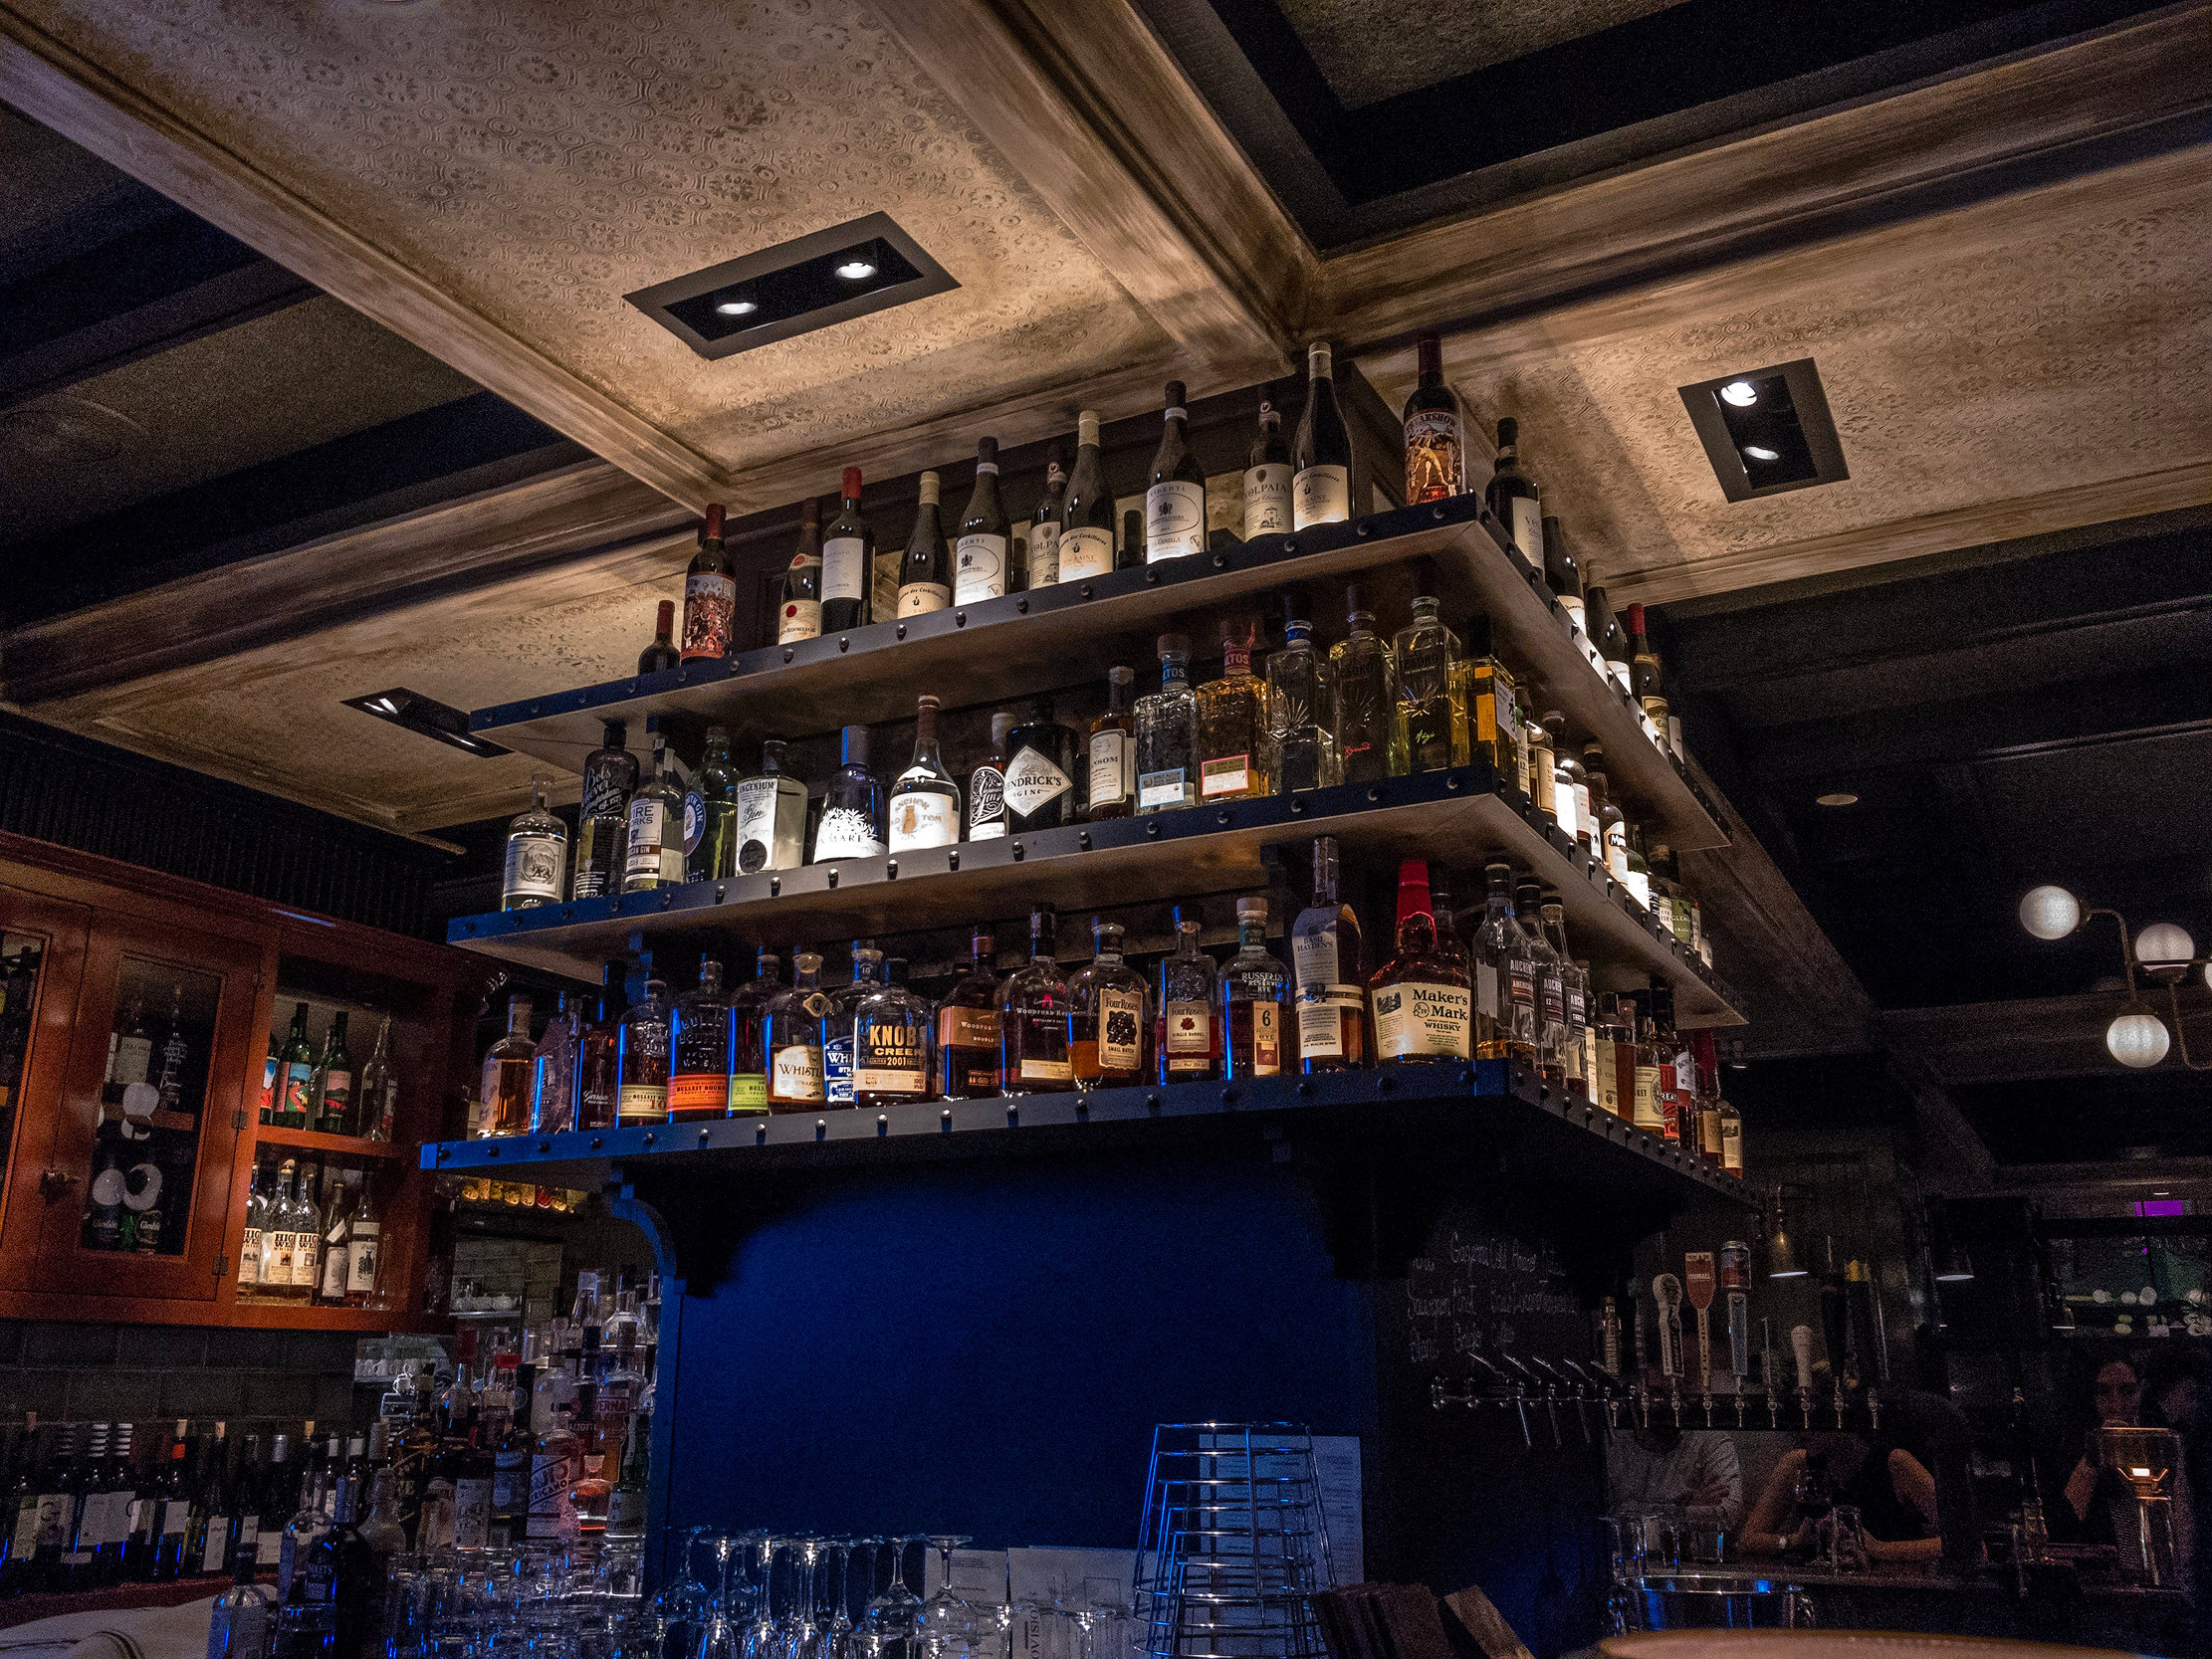
Now, compare the edited image above with the image captured in RAW and edited in Adobe Lightroom Mobile on my iPhone.

If you look closely, the RAW image preserved the details in all light and dark areas. Those details are simply not there to be pulled out in the JPEG file. Look at the labels on the bottles. In throwing away those billions of colors, it’s also throwing away details. No matter how hard you try to pull them out, you simply can’t. They’re not there. And in trying to pull out details in shadows and highlights, you distort the colors in the scene.
There is such a dramatic difference in the quality of the images illustrated above. As a photo processing geek, this makes me happy. It also makes me likely to post a few more iPhone photos here in the future. Life is good. 🙂
100% OF PROFITS FROM PHOTO SALES ARE DONATED TO YOUTH TRACK & FIELD PROGRAMS!
EXIF Data Below Applies Only To The Featured Photo In This Post
It took me years before my friend Alan Mah convinced me to shoot in RAW … now it’s all I do!
AMAZING!
Awesome stuff Jeff! I’ll definitely be looking into lightroom for iOS here shortly to turn the iPhone into RAW!
Pingback: Subtle Sunset - Before And After | In The Viewfinder
Pingback: iPhone RAW Sunset